


“Painting is just another way of keeping a diary” – Pablo Picasso
On the off chance that you've never figured out how to play music, sitting with a music band of ace performers that are utilizing specialized terms to depict their work can be a hurricane of surprises, and at the same time, a delightful dialect. A comparable circumstance can happen when talking with ace artists who paint with oils: all of a sudden, you're in a discussion where they're debating about the better purposes of shades, examining the advantages of cotton canvas versus linen, or sharing formulas for handcrafted gesso, brushes, and a method called "wet-on-wet." The plenitude of artsy terms related to oil painting may feel overpowering at first, but when you decide to play with this beautiful medium and acquaint yourself with its terms as well as the best practices, you’ll be a master at using this century-old medium!
So, if you are someone who is new to Oil paintings, or are an artist who usually paints in acrylic or watercolour mediums, it would take time to adjust to oil paint’s qualities like its slow drying time and rules of layering it. To help you with more such tips and tricks, we have jotted some points you can keep in mind as you take this adventure!
Trick No. 01: Paint Fat on Lean
Fat over lean alludes to a 'rule' in oil painting where each layer of paint ought to be fatter (have more oil) than the prior layer. This is to evade the paint breaking as it dries. The thinking behind this lead depends on the diverse drying times of oil paints and mediums. The thicker the oil paint, the slower it dries. On the off chance that a layer of paint at best dries a layer previously underneath it, the paint will crack.
Oil painters begin with a thin layer of paint blended with solvents. This is only a faint wash. For each resulting layer of paint, more oil and less of thinner is included.
Trick No. 02: Paint Thick on thin
This trick is almost the same fat on lean painting. When painting with heavy oil paints, it is best to apply thick layers over thin layers, and this is because the thin layers dry speedier. For instance, if you like the impasto style of the Impressionists with their thick, strong brush strokes then recollect that these thick layers should be uppermost – thin layers over impasto layers are probably going to crack.
Trick No. 03: Canvas Touch-up
This step is usually ignored with canvas. With oil painters, the popular canvas used are either cotton or linen, and it has two versions – Primed or non-primed. Some seasoned artists prefer buying an unprimed canvas, and stretch it themselves and apply gesso. With primed canvas, you get a sprayed-on gesso primer applied surface of the canvas. The raw canvas absorbs the primer, like wood priming surface before painting. Thus recommending at least applying one coat of gesso before painting, as a barrier. So, once you have your canvas ready, consider applying a muted background to prep your canvas because it helps in hiding any bare white parts of the canvas. Also, after doing so, sketch your significant shapes of the art. It need not be all da Vinci. It also unifies the painting and sets the mood...
Trick No. 04: Take care of your Magic Wands
This is the rule of thumb for Oil painting. You need to clean your brushes, and you will need to clean it often if you don’t want your oil colours to mix. If you wish to apply a dark colour after a light colour with the same brush, you can do so by just wiping it on a rag. However, if it is vice versa, you need to clean it thoroughly. To clean, you need odourless mineral spirits (OMS), and tissues. The bigger brushes like Bob Ross landscape you can beat on a beater rack the mineral spirit out of the brush… Works well.
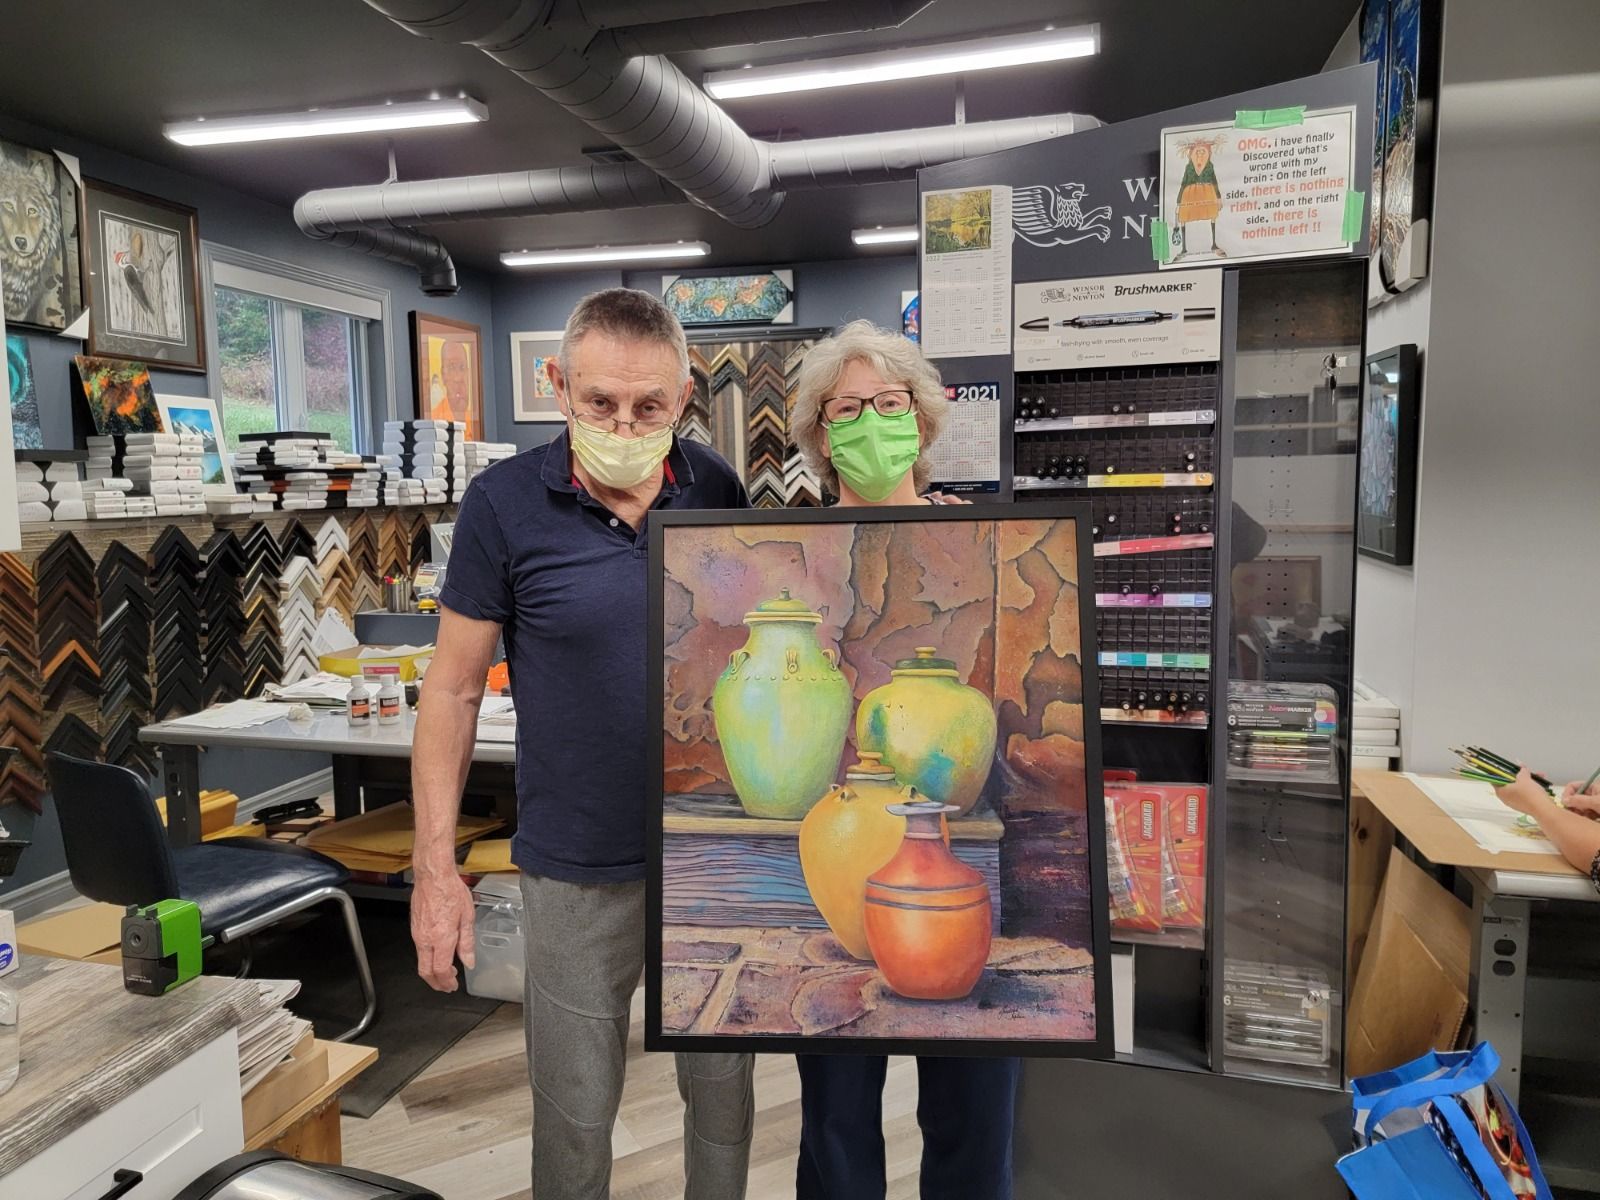
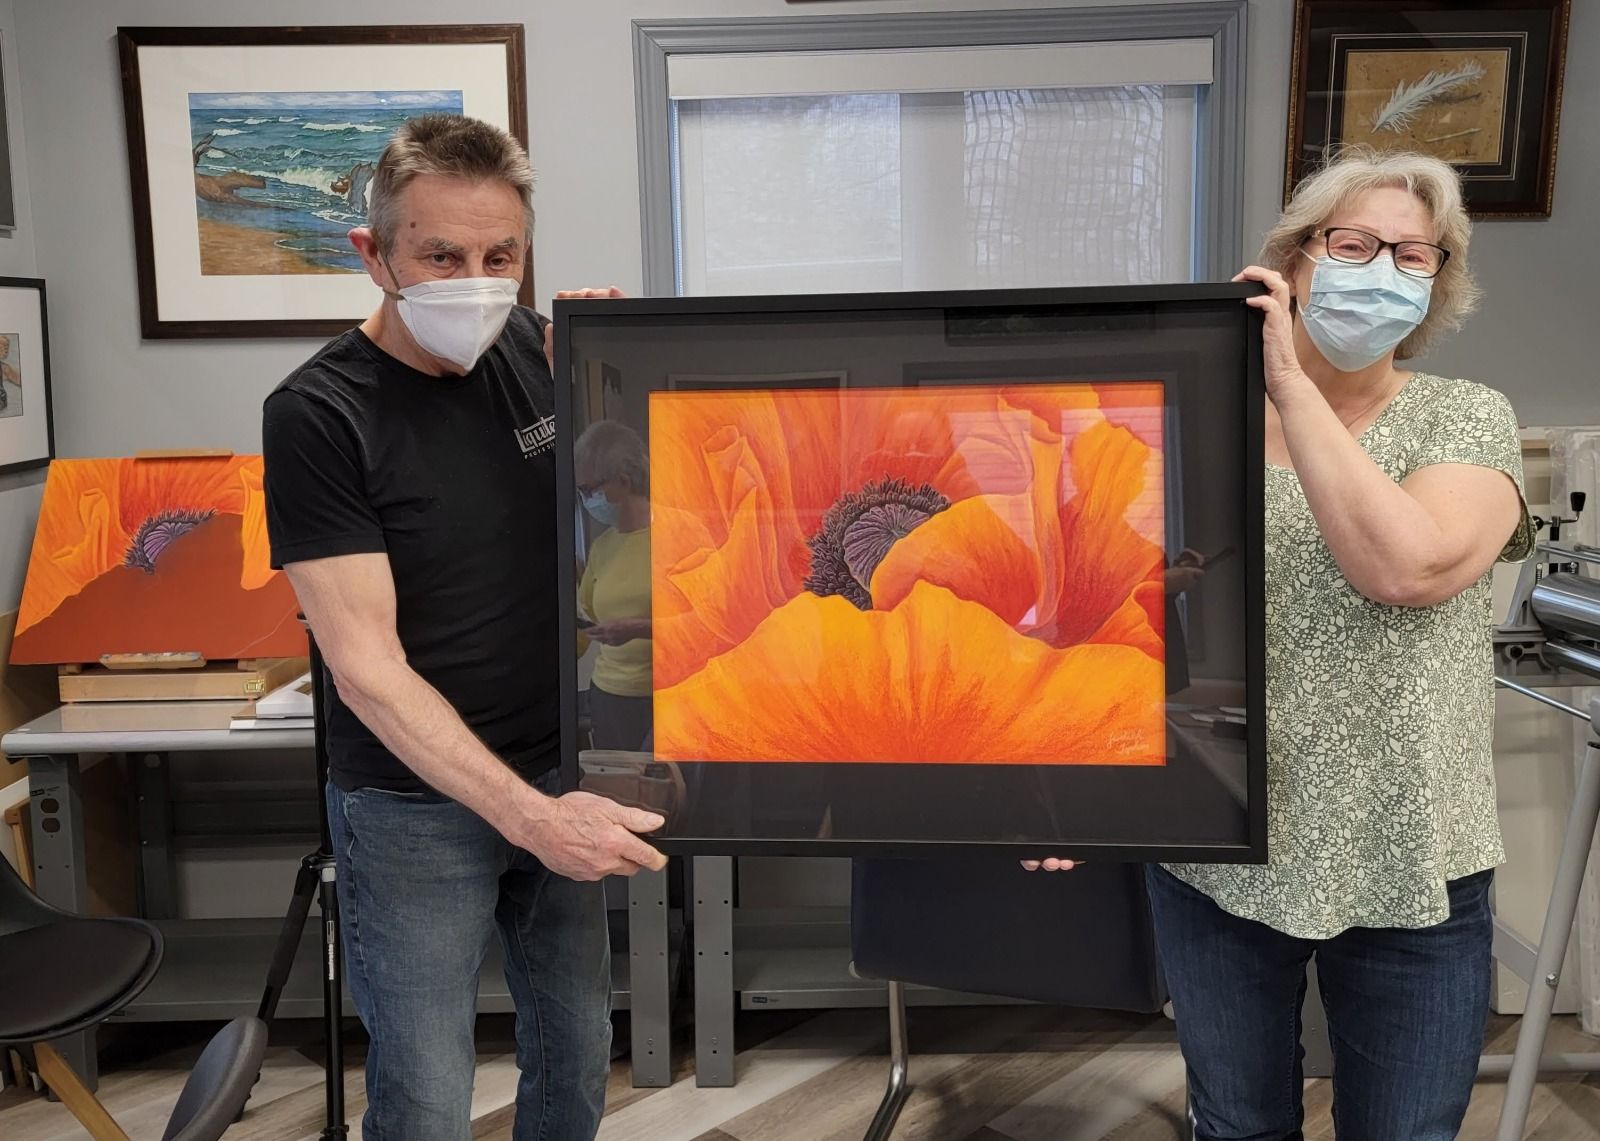
Don’t change brushes because it is not clean; keep changing the brushes when you need a different shape or size. Let us warn you that you may end up ruining your good brushes if you don’t clean them properly. So, make this practice a ritual as you go. Moreover, you don’t have to worry about it when you shop for brushes at King’s Framing and Art Gallery. We attend to your creative needs!
Trick No. 05: Learn Universal techniques
Instead of learning how to paint specific scenery, learn how you can master the technique of painting eyes which would help you with many other paintings. Ace artists have learned many such methods and used them time and again to create great masterpieces.
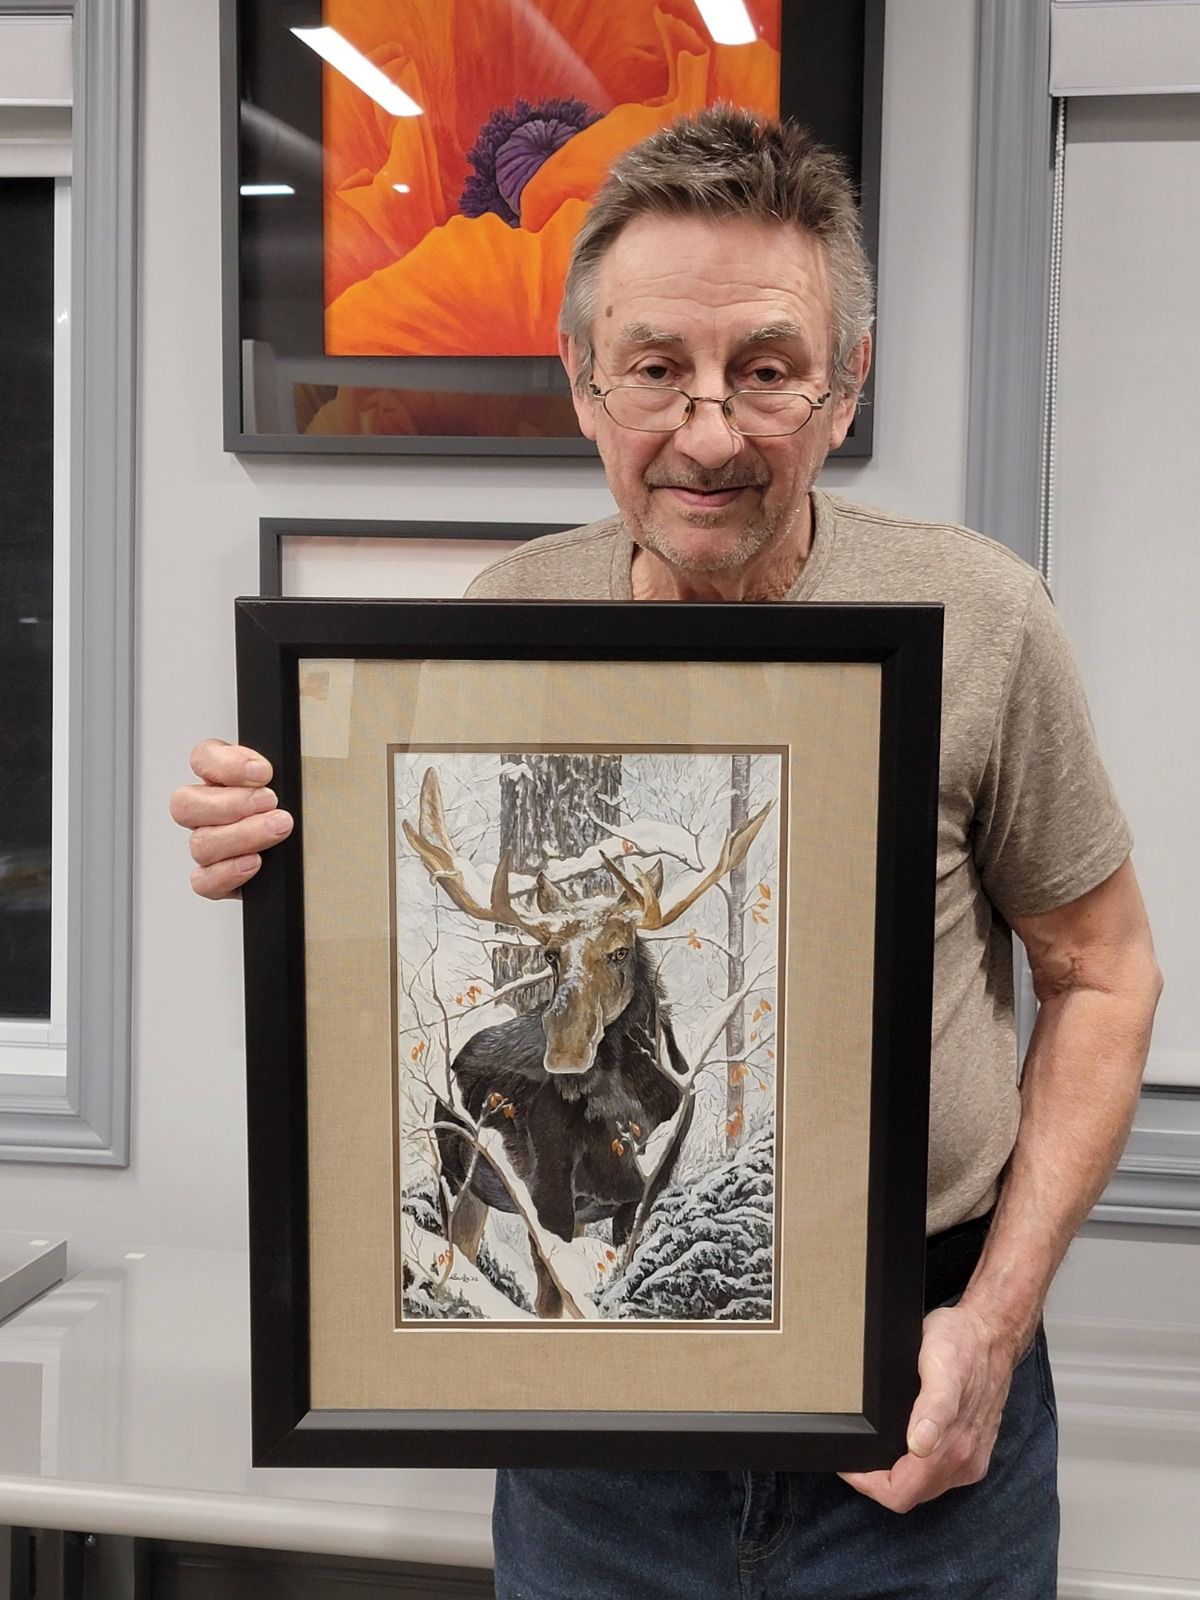
To do so, you can attend workshops on Oil paintings which show you such techniques. King’s Framing & Art Gallery too is coming up with one such workshop – Bob Ross Oil painting workshops on every last Saturday of the month. Join us to learn new techniques and oil paintings which you can take home!
Trick No. 06: Versatile Palette Knife
You have always underestimated your palette knife. It is the knight in the shining armour!
A palette knife is not only used for mixing colours on your palette, but you can also use it to make crisp marks of colours on your canvas. It can serve as a fantastic tool to paint in impasto style or to scrape paint from the canvas or paint snow on mountains.
Oil Painting is a powerful medium and has been the choice of all seasoned artists. It gives you the time to manipulate your art on the canvas. It looks a bit daunting as a beginner, but with time and practice, you can ace it!
Also, to help you Ace it in no less time and to learn more tricks like these, join the ‘Bob Ross workshop’ conducted by Multi-Media Art Instructor Lise King, a certified instructor (CRWI®) to teach Ross Wildlife Method on every last Saturday of the month.


